
How to press DTF transfers so they actually last
The exact temperature, time and pressure we'd hand a customer with their gang sheet — plus the second-press trick and care rules that keep a transfer alive past 50 washes.
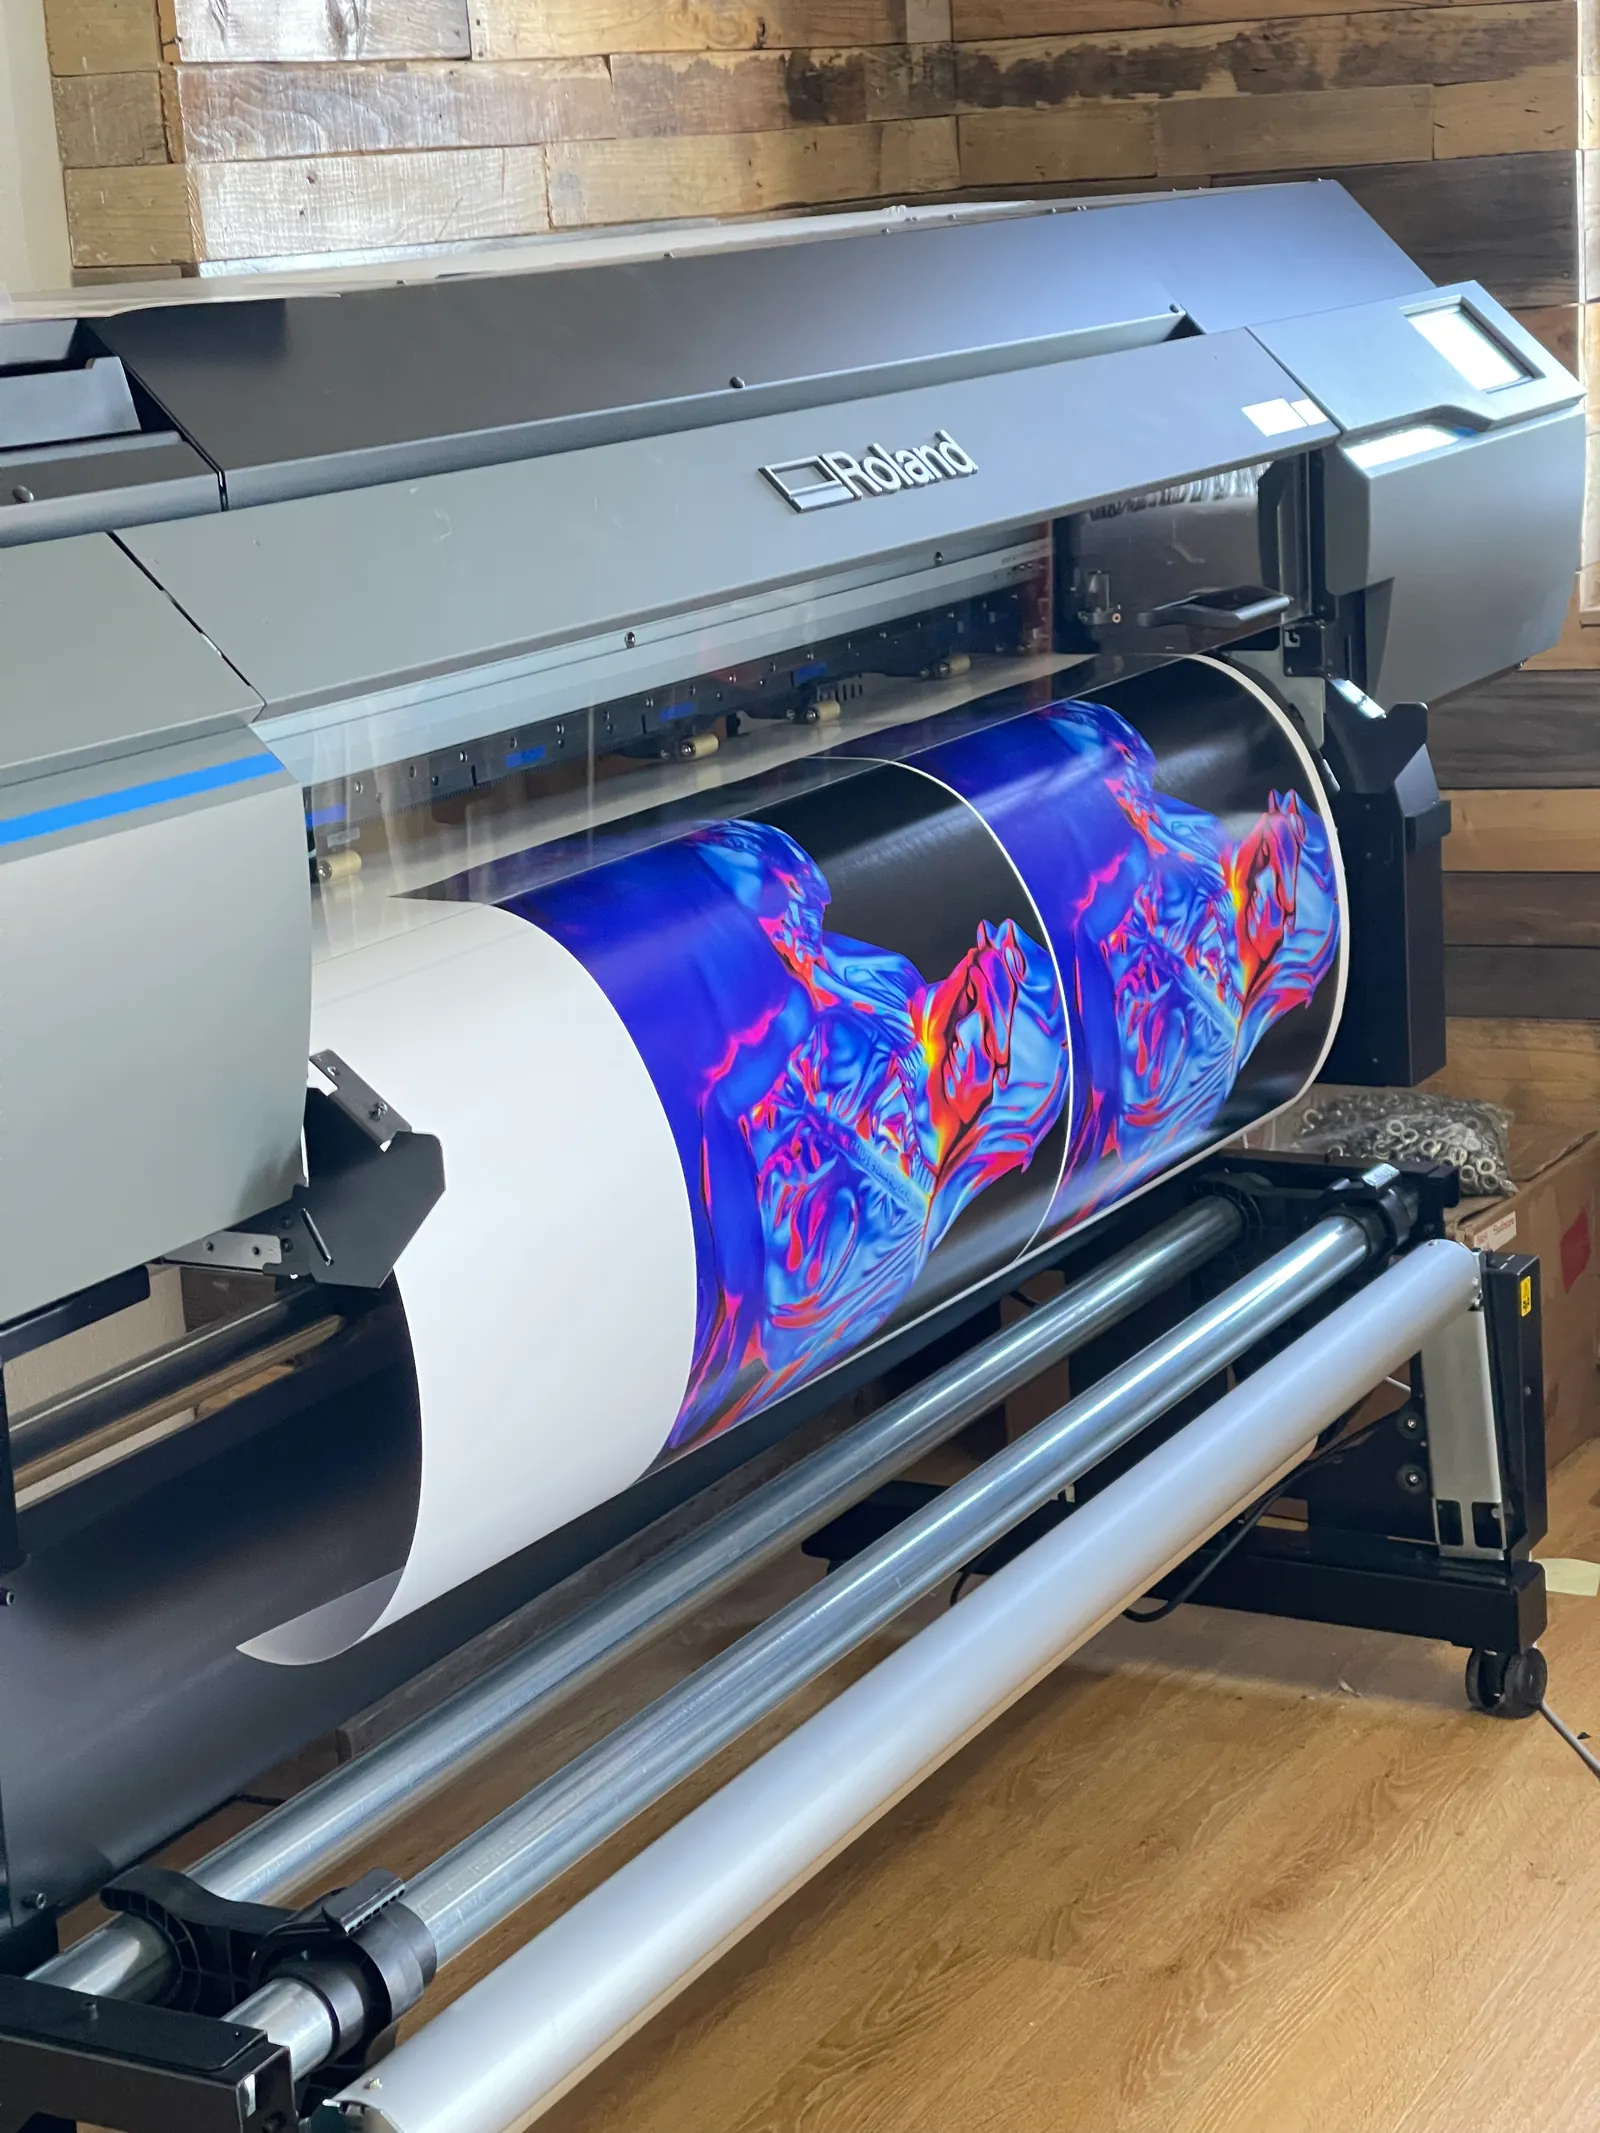
Short answer: for cotton, press DTF transfers at roughly 300–320°F for 10–15 seconds at medium-firm pressure, peel according to your film's spec (cold or hot), then press again for 5–10 seconds under a parchment or teflon finishing sheet. That second press is the difference between a transfer that survives 50+ washes and one that cracks by Labor Day.
This guide is for the crafters, the market-booth sellers, and the small brands pressing their own drops at home. We're Fully Exposed Graphics, a print shop in Albuquerque — we run DTF transfers by the sheet and ship ready-to-press gang sheets nationwide. What follows is the same advice we give every customer who walks out with a roll of film.
Do you need a heat press for DTF transfers?
Honest answer: yes. You can technically get a transfer to stick with a household iron. You cannot get it to stay.
DTF adhesive needs three things at once — the right temperature, even pressure across the whole design, and enough dwell time. An iron fails the middle one every time. The soleplate is small, the steam holes create dead zones, and pressure depends entirely on how hard you lean. The result is a transfer that's bonded in the center and barely kissed at the corners. Those corners lift on wash three, and the whole print peels from there.
Even an entry-level clamshell press solves all of this: a flat heated platen, a pressure knob, a timer. If you're building an apparel side hustle, it's the first real piece of equipment worth buying — we go deeper on that in our guide to starting a clothing brand.
DTF transfer temperature and time: the settings table
These are typical starting points for cotton and cotton-rich blends. DTF films are not all identical — adhesive powders and peel behavior vary by manufacturer — so treat your film's spec sheet as the final word, and always test one transfer before pressing a stack.
| Step | Temperature | Time | Pressure |
|---|---|---|---|
| Pre-press (garment only) | 300–320°F | ~5 seconds | Medium |
| Main press | 300–320°F | 10–15 seconds | Medium-firm |
| Peel | — | Cold or hot, per your film's spec | — |
| Second press (with finishing sheet) | 300–320°F | 5–10 seconds | Medium-firm |
Pressing polyester or performance fabric? Those fibers are heat-sensitive and can scorch or dye-migrate at cotton temps. Use your film's low-temperature spec and test on a scrap or hidden seam first. When in doubt, ask whoever printed your transfers — we answer these questions all day.
How to press DTF transfers step by step
- Prep the garment. Lay it flat on the platen, smooth out wrinkles, and hit it with a lint roller. A stray thread under the film prints itself into the transfer forever.
- Pre-press for about 5 seconds. This flattens the fibers and — more importantly — drives out moisture. Cotton holds humidity you can't feel, and steam escaping mid-press pushes back against the adhesive. Moisture is the silent killer of DTF, especially on garments straight out of a shipping box.
- Position the transfer. Printed film goes face-up, design reading correctly. For a standard front print, most people land 2–3 finger-widths below the collar, centered. Measure once; eyeballing is how prints end up crooked.
- Press at 300–320°F for 10–15 seconds, medium-firm. You want firm, even contact — the platen should close with real resistance, not slam shut loose.
- Peel according to your film's spec. Cold-peel films must cool completely before the carrier comes off — walk away, be patient. Hot-peel films come off immediately in one smooth, low, steady pull. Peeling a cold-peel film early is one of the fastest ways to ruin a transfer.
- Press again for 5–10 seconds under a finishing sheet. Lay parchment or a teflon sheet over the design and re-press. This drives the ink deeper into the fabric, seals the edges, and knocks the shine down to a soft matte finish. Skipping this step is the number one reason home-pressed transfers fail early in the wash.
How long do DTF transfers last?
Pressed right, a quality DTF transfer holds up for 50+ washes — bright color, no cracking, edges still locked down. That's competitive with a good screen print, which is why the DTF vs screen printing decision usually comes down to quantity and color count, not durability.
The catch: most "DTF doesn't last" complaints trace back to the pressing or the laundry, not the film. Here's the care routine that protects your press work:
- Turn it inside out before every wash. The drum is an abrasive.
- Wash cold. Heat is what breaks adhesive down over time.
- No bleach, easy on the fabric softener. Softener buildup works its way between ink and fiber.
- Hang dry when you can. The dryer won't kill a well-pressed transfer, but line drying doubles its margin.
- Never iron the print directly. If the garment needs ironing, flip it inside out or cover the design with parchment.
Troubleshooting: when a transfer goes wrong
| Symptom | Likely cause | Fix |
|---|---|---|
| Corners or edges peeling | Not enough pressure or dwell time | Increase pressure a notch, add 2–3 seconds, re-press with a finishing sheet |
| Print cracking after a few wears | Over-cured (too hot / too long) or the second press got skipped | Drop back into the 300–320°F window and always finish with the 5–10 second second press |
| Shiny, plasticky patches | No parchment or teflon finishing sheet on the second press | Re-press under a finishing sheet to matte it down |
| Design lifted after the first wash | Moisture trapped in the garment at press time | Always pre-press ~5 seconds; go longer in humid weather or on fresh-from-the-box blanks |
One more variable worth naming: the blank itself. Tight-knit, quality garments give the adhesive a better surface than bargain-bin tees — our blank t-shirt rankings apply to DTF just as much as screen printing.
Rather have it done for you?
Plenty of our customers buy transfers and press their own — we love that, and we'll keep shipping gang sheets anywhere in the country. Transfers are priced by size and sheet with no minimum order, so ganging several designs onto one sheet is how you get the most out of every inch of film — we'll itemize sheet size, quantity and art on your quote. But if you've got a full order and zero interest in babysitting a heat press, we also press complete runs in-house on premium blanks, with a digital proof before anything prints and every piece hand-inspected. Typically 7–10 business days, rush available.
Quick answers
What temperature do you press DTF transfers at?
For cotton and cotton blends, a typical starting point is 300–320°F for 10–15 seconds at medium-firm pressure, followed by a 5–10 second second press under a parchment or teflon finishing sheet. Films vary, so always follow your film's spec sheet and test one transfer first.
Do you need a heat press for DTF transfers?
A real heat press is strongly recommended. A household iron can reach temperature but cannot hold even pressure across the whole transfer, which is the most common cause of peeling corners and edges. Even an entry-level heat press delivers the consistent temperature, pressure and time DTF adhesive needs.
Why is my DTF transfer peeling?
The usual culprits are too little pressure or time, moisture left in the garment (skip the pre-press and steam pushes back against the adhesive), or peeling at the wrong point — cold-peel films must cool fully before the film comes off. Add pressure and dwell time, pre-press for 5 seconds first, and follow your film's peel spec.